Before you complete a home swap, there is a lot to organise. This checklist covers everything from first contact to moving day so nothing slips through the cracks. Whether you are swapping a council flat or a housing association house, the process follows broadly the same steps.
We have broken it into six stages. Work through each one in order, and by the time moving day arrives you will be fully prepared. You can print this page and tick off items as you go.
How long does a home swap take?
Most mutual exchanges take between 6 and 12 weeks from the point where you submit your application to moving day. The biggest variable is how quickly both landlords process the paperwork. See our realistic swap timeline guide for a week-by-week breakdown, and use a clear checklist to avoid delays on your side.
Stage 1: Before You Start Looking
Getting your own house in order — literally — before you begin searching will save you weeks of frustration later. Landlords check these things during the application, so sort them out now.
Check your rent account is up to date
Rent arrears are the most common reason landlords refuse a mutual exchange. Clear any outstanding balance or agree a repayment plan with your landlord before you apply.
Report and resolve any outstanding repairs
If there are repairs you have been putting off reporting, do it now. Landlords inspect properties before approving a swap, and unresolved issues can delay or block the exchange.
Fix any tenancy breaches
Unauthorised alterations, pets without permission, overgrown gardens, or subletting issues all give your landlord grounds for refusal. Address them before you start.
Understand the bedroom standard
Landlords can refuse if the swap would leave you significantly under-occupying or overcrowding the new property. Count who in your household needs their own room and check you are a reasonable match for the property you want. See our bedroom rules explained guide for the full breakdown.
Check your tenancy type
Secure council tenants and assured housing association tenants have a legal right to swap. Introductory or starter tenants usually cannot swap until their probationary period ends. Check your tenancy agreement if you are unsure.
Confirm everyone in your household is on board
Joint tenants must both consent. If you have children, consider schools, childcare, and their needs. Everyone affected should be part of the decision.
Stage 2: Finding a Match
The better your listing, the faster you will find someone who wants what you have and has what you want. Put effort in here and it pays off.
Create your listing with accurate details
Include the correct number of bedrooms, property type, postcode area, and tenancy type. Inaccurate details waste everyone's time.
Upload clear, well-lit photos
Listings with photos get significantly more interest. Photograph every room, the outside of the property, and any garden or parking space. Natural daylight works best. Tidy up before you shoot. For more photography and listing tips, read our make your listing stand out guide.
Write an honest, detailed description
Mention what makes the area good — schools, transport links, shops, parks. Be upfront about any drawbacks too. Honesty builds trust and avoids wasted viewings.
Set your swap preferences clearly
Specify what areas, property types, and sizes you are looking for. This helps matching algorithms and other tenants work out whether you are a fit.
Respond to messages promptly
When someone contacts you, reply quickly. Slow replies lose potential matches — the other person may move on to another swap partner.
Visit the other property (and invite them to visit yours)
Always see the property in person before agreeing to swap. Photos cannot tell you about noise levels, the feel of the neighbourhood, or the condition of fixtures. Arrange a mutual viewing so both parties can check they are happy.
Stage 3: The Application
Once you have agreed to swap with another tenant, you both need to formally apply to your respective landlords. This triggers the legal process.
Obtain mutual exchange application forms
Contact your landlord and ask for their mutual exchange form. Some councils have these available online. Your swap partner must do the same with their landlord.
Submit both applications on the same day
This starts both 42-day clocks at the same time. If you submit weeks apart, you may end up waiting for the slower landlord while the other consent expires.
Keep proof of your submission date
Send the form by email or recorded post, or get a receipt if you hand it in person. The 42-day deadline runs from the date your landlord receives the application.
Provide references if requested
Some landlords ask for references from your current landlord or housing officer. Cooperate with this — it speeds things up.
Prepare for property inspections
Both landlords will usually inspect both properties. Ensure yours is clean, tidy, and in reasonable condition. Any damage you have caused may need to be repaired before the swap is approved.
Chase progress if needed
If you have not heard back within three weeks, call your landlord's housing team for an update. Be polite but firm. They have a legal deadline of 42 days.
Stage 4: Pre-Move Preparation
Once both landlords have given consent, it is time to prepare for the actual move. This is the busy bit — give yourself at least two weeks.
Agree a moving date with your swap partner
Both parties need to move on the same day. Pick a date that gives you enough time to pack and organise, but do not leave it too long — landlord consent can lapse.
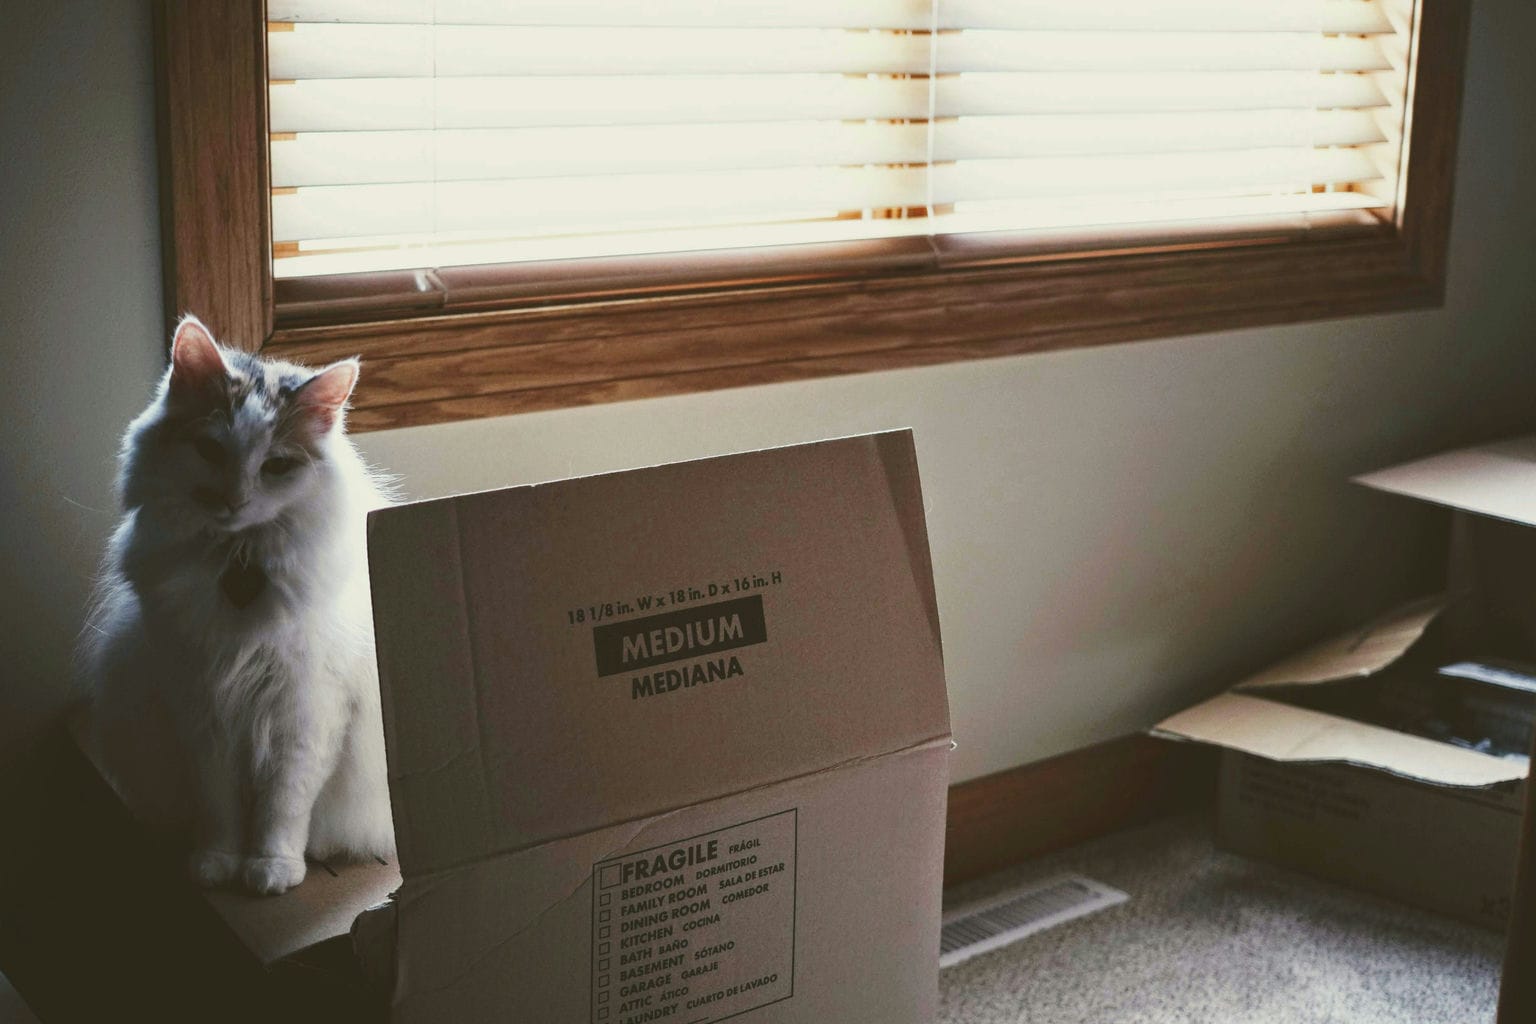
Start packing early
Begin with rooms you use least. Label every box with its contents and which room it belongs to in the new property. Declutter as you go — it is cheaper to move less.
Arrange a removal van or help
Book a removal company or arrange help from friends and family. Get quotes from at least two companies. Book early, especially if you are moving on a weekend.
Notify your utility providers
Contact your gas, electricity, water, broadband, and TV licence providers with your moving date and new address. Ask if you can transfer your accounts to the new property.
Set up Royal Mail redirect
Redirect your post from your old address to your new one. You can do this online at the Royal Mail website. It covers letters for up to 12 months and catches anything you forget to update.
Take meter readings
Read your gas and electricity meters on the day you leave. Photograph them as evidence. Share the readings with your utility providers so you are not billed for the next tenant's usage.
Deep clean the property
Leave the property in a clean, reasonable condition. It does not need to be perfect, but kitchens, bathrooms, and floors should be properly cleaned. This is common courtesy and some landlords require it.
Update your address with important organisations
Bank, employer, HMRC, DVLA, GP surgery, dentist, school, insurance providers, any benefits you receive (Universal Credit, Housing Benefit, Council Tax Reduction). Do as many as possible before the move.
Stage 5: Moving Day
The big day. Stay calm, stay organised, and keep in contact with your swap partner throughout.
Take final meter readings and photographs
Photograph all meters, the general condition of each room, and anything you want on record. Do this before you start moving furniture out.
Do a final check of every room
Open every cupboard, check the loft, look in the shed and garage. It is surprisingly easy to leave things behind. Check window sills, behind doors, and inside built-in wardrobes.
Hand over all keys
Give all keys (front door, back door, windows, shed, garage, meter cupboard) to your landlord or directly to your swap partner, depending on how your landlord has arranged it.
Collect keys to your new property
Check that all keys work and that you have been given the full set. Test locks on all doors.
Take meter readings at your new property
Read and photograph the gas and electricity meters at your new address as soon as you arrive. This protects you from being charged for the previous tenant's usage.
Check the property condition
Walk through every room and note anything that is damaged or not as expected. Report issues to your new landlord straight away so they are not attributed to you later.
Stage 6: After You Move In
You are in your new home. There are still a few important things to do in the first week or two.
Sign your new tenancy agreement
Your new landlord will ask you to sign a new tenancy agreement. Read it carefully. In most cases you will become a secure or assured tenant of the new landlord from day one.
Register for council tax
Contact your new local council to register at your new address. If you were in a different council area before, you also need to close your old council tax account. Do this within the first few days to avoid a bill at the wrong address.
Register with a new GP and dentist
Find your nearest GP surgery and register as a new patient. Do the same for a dentist if you have one. If you take regular medication, register promptly so there is no gap in prescriptions.
Update your electoral register
Register to vote at your new address. You can do this online at gov.uk. It takes a couple of minutes and also helps with your credit file.
Update benefits and tax credits
If you receive Universal Credit, Housing Benefit, Council Tax Reduction, or any other benefits, notify them of your new address and any change in rent immediately. Delays can cause payment issues.
Transfer or set up school places
If you have school-age children, contact the new local authority about school places as early as possible. In-year admissions can take time, so start before you move if you can.
Get to know your new area
Find your nearest shops, post office, pharmacy, and bus stops. Introduce yourself to neighbours. Settling in is easier when you know your way around.
Quick Reference Summary
Before applying
- Rent up to date
- Repairs reported
- Tenancy breaches fixed
- Bedroom standard checked
Application stage
- Forms submitted same day
- Proof of submission kept
- Inspections prepared for
- 42-day deadline tracked
Pre-move essentials
- Utilities notified
- Royal Mail redirect set up
- Meter readings taken
- Property cleaned
After moving in
- Tenancy agreement signed
- Council tax registered
- GP and dentist registered
- Benefits updated
Frequently Asked Questions
Most mutual exchanges take between 6 and 12 weeks from submitting the application to moving day. The main variable is how quickly both landlords process the paperwork. Having everything in order on your side — rent paid, no repairs outstanding, forms submitted correctly — helps avoid unnecessary delays.
You are generally expected to leave the property in a reasonable condition, but you do not need to redecorate. Repair any damage you have caused (holes in walls, broken fixtures) and ensure the property is clean. Your landlord may inspect before approving the swap and note any issues.
Most social housing tenancies do not require a deposit, so there is usually nothing to transfer. If you did pay a deposit, speak to your landlord about how it will be handled — it depends on your tenancy agreement and whether you are moving to a different landlord.
If the alterations were authorised by your landlord, they should not be a problem. Unauthorised alterations could be grounds for refusal. You may be asked to reverse them or get retrospective permission before the swap can proceed.
Yes. A mutual exchange means both tenancies are surrendered and new ones granted simultaneously. Both parties must move on the agreed date. You cannot move out early and leave the property empty while waiting for your swap partner.
Unfortunately this does happen. If your swap partner withdraws before the exchange is legally completed, the swap does not go ahead. You would need to find a new match and start the application process again. Keep your listing active until you have physically moved in.
No. Fitted items (kitchen units, bathroom suites, built-in wardrobes) are part of the property and stay. You can take freestanding items like a washing machine or fridge. If in doubt, check with your landlord.
Report any issues to your new landlord as soon as possible, ideally in writing with photographs. Problems that existed before you moved in are the landlord's responsibility to repair. This is why taking photos and noting the condition on arrival is so important.
Ready to start your swap?
Now you know exactly what to do at every stage, create your free listing and start looking for your perfect match.